How to add categories in your online store?

Heavenlight Jacob
Last Update 4 years ago
Login to your online store admin dashboard, go to Catalog Section>>categories
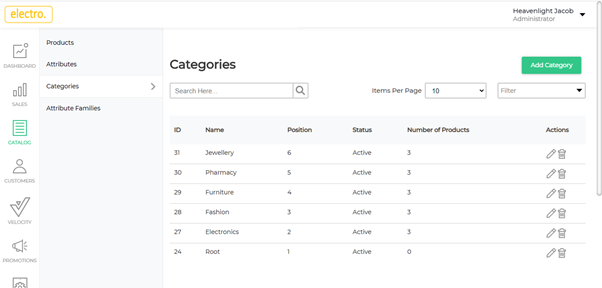
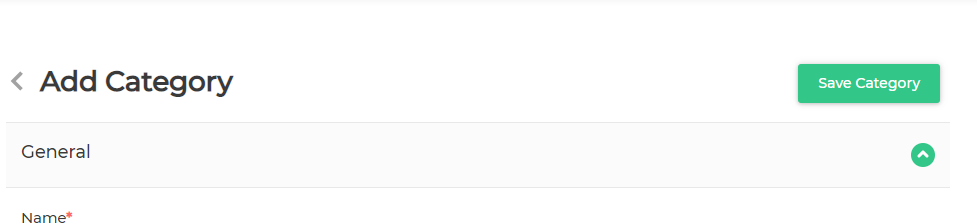
– Click on add category
Once you click on the add category button, a page will be displayed where you will find several new settings as shown in the image below.
General Setting
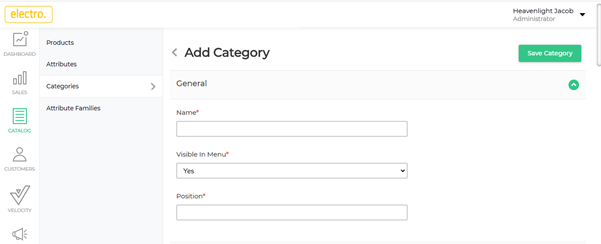
From above image
Name
-Enter the name of the category
visible in menu
-Select "yes" in drop down list if you want categories to be shown in your online store and "no" if you don't want to show it.
Position
-Enter position of your category example 1,2,3....
Description and Images Category
Display mode
In this section navigate the drop down list, where it will display three ways of how your product will appear in the store's front end, you are allowed to choose any of the options
Example you can choose either of the following
-Product and description
-Product only
-Description only

Description
In this section you will add category descriptions.
See the example below
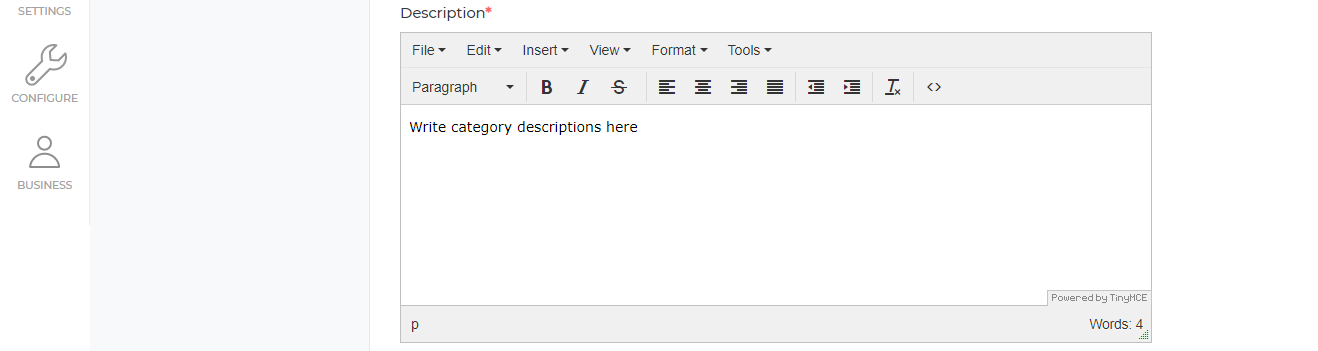
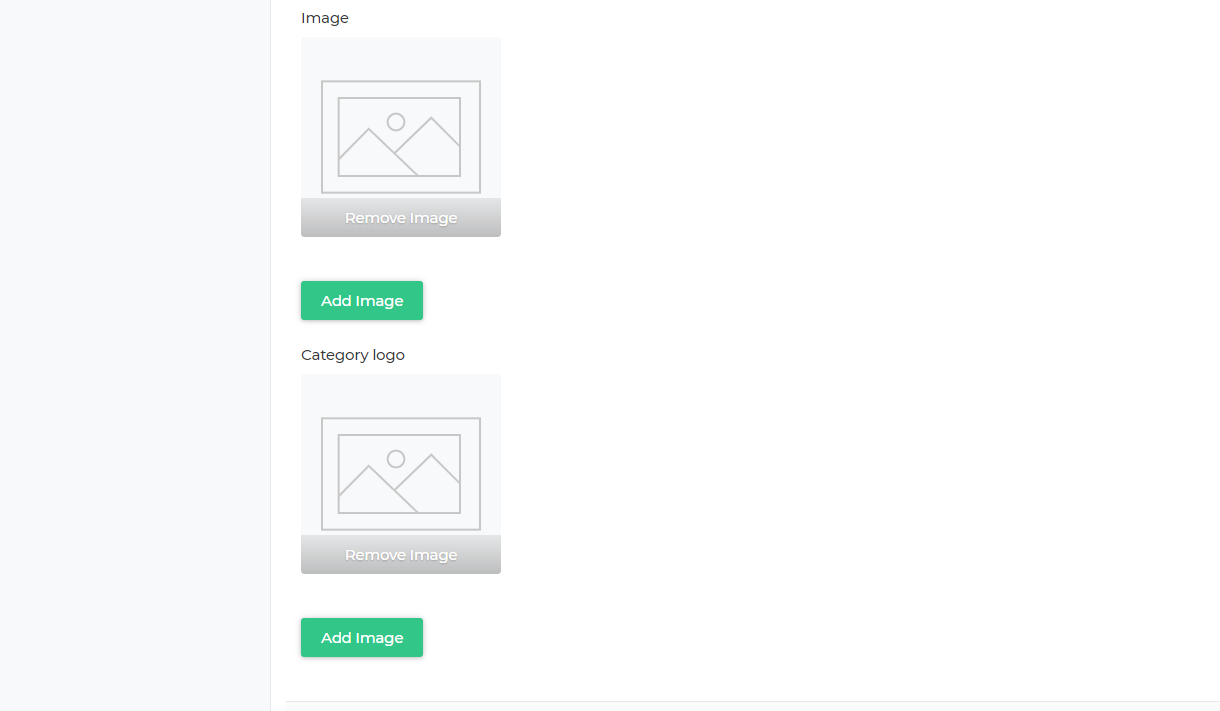
Image and category logo
In this section you will add category image and logo. click green button to add image and logo (Its optional to put images or not)
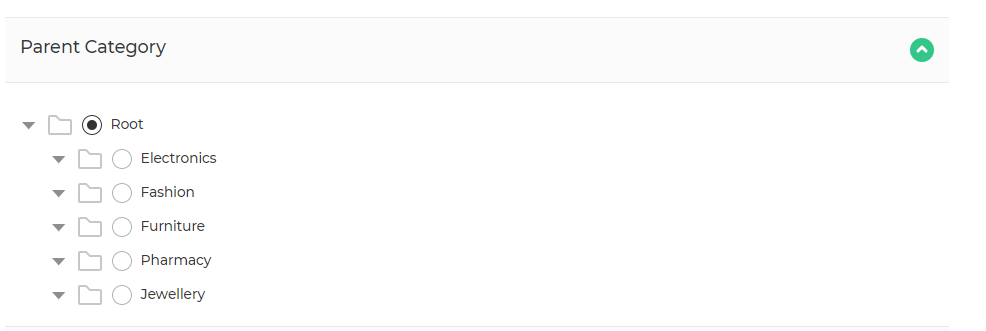
Parent Category
To see your product category in your store's front end you have to choose parent category. See the example below
Filterable Attributes
In this section you will choose which attributes you want them to appear in the store's front end.
See the example below, the chosen category is price

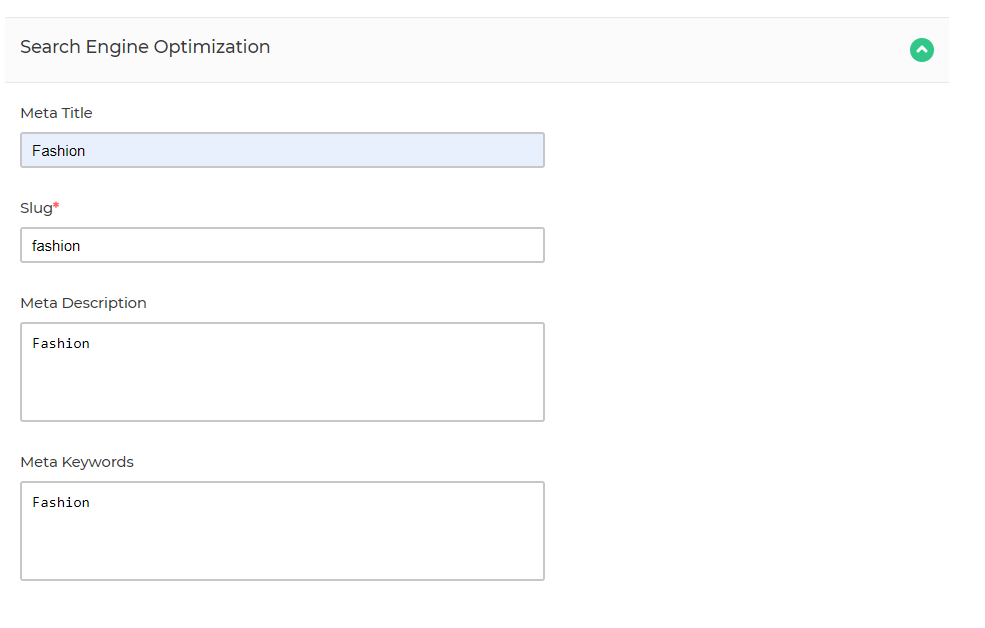
Search Engine Optimization
This section is optional, you put the category name in all parts. This will help you to improve your store and increase it's visibility for relevant searches.
See the example below
After doing all the above process go to the top right corner and click green button to save category